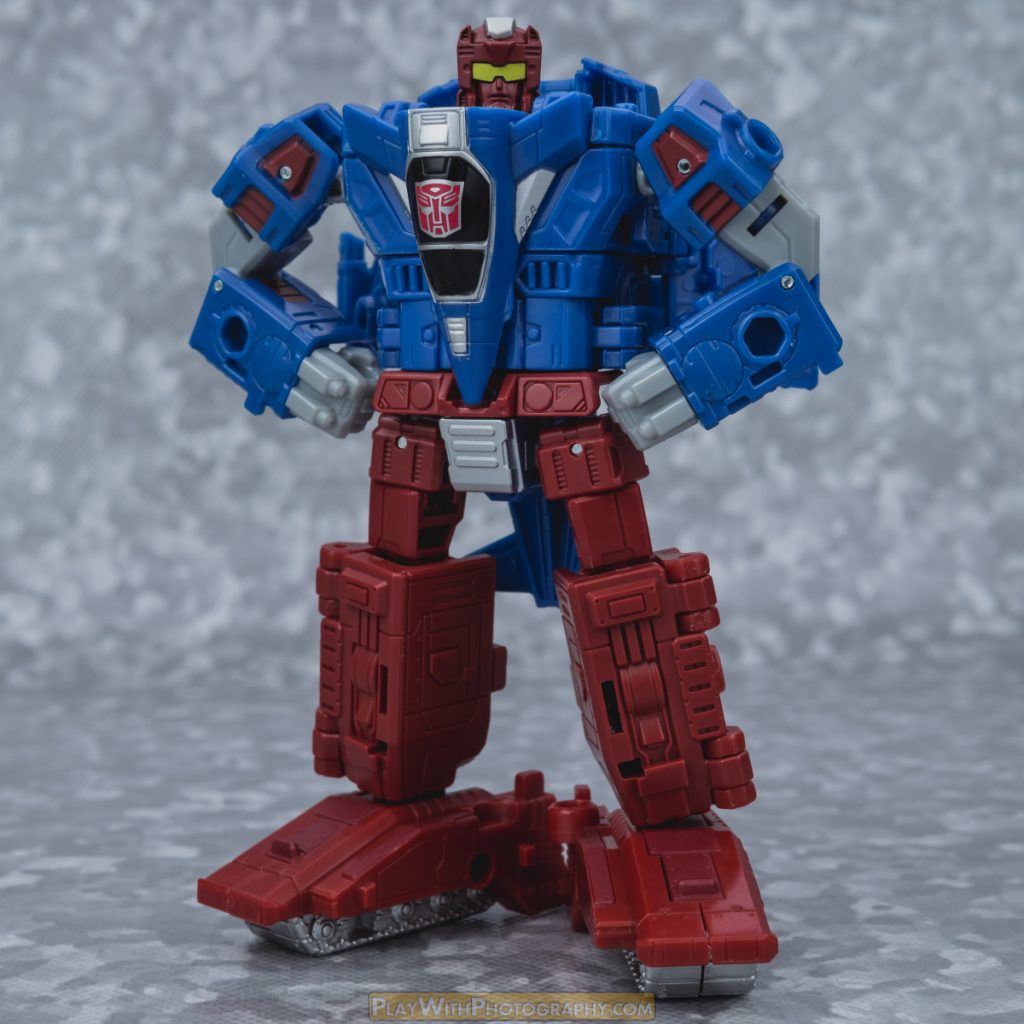
There’s a problem with some portion of the production batch of Transformers Siege Alphastrike Counterforce battle packs, affecting the Slamdance redeco of Flywheels (or Skytread, whatever) included as part of the set. Things kind of end up breaking, perhaps out of trying to move parts that should normally move, but in this instance refuse to do so. That being the case, it might be possible to fix before permanent damage occurs – if you’re brave!
Research kicked off by @UnderscoreZeus has pointed to a potential problem batch, denoted by production code 91361 on the packaging. This seems to be backed up by my own experience, since I ended up with a problem Slamdance. In my case, the left foot wouldn’t hinge on its transformation joint, while the right foot moved just fine. I also noticed some out-of-the-box stress marks in different areas around the legs, but that’s not really so unusual these days, is it?
So two paths lay before me at that point. I could either press the issue and almost surely break something, at which point I’d have to try to secure a return through Amazon and hope that a replacement copy would be from a different, better batch. OR, I could try to see what was going on. Even if it broke in the attempt, an exchange was still on the table as a contingency plan, so what was to lose but time and maybe some fingertips?
Each foot has one screw fastening the halves together, which was easy enough to access and loosen. I think there must also be a small spot of glue in the neighborhood of the toes, but if so it didn’t offer much resistance once the screw was taken out of the picture. I had an idea right away of what might be causing a problem, since it looked like the square “post” of the ankle that the foot is actually assembled around was getting caught on the edges of the gap in the foot the post is meant to pass through. So, after opening the foot, I identified that area.
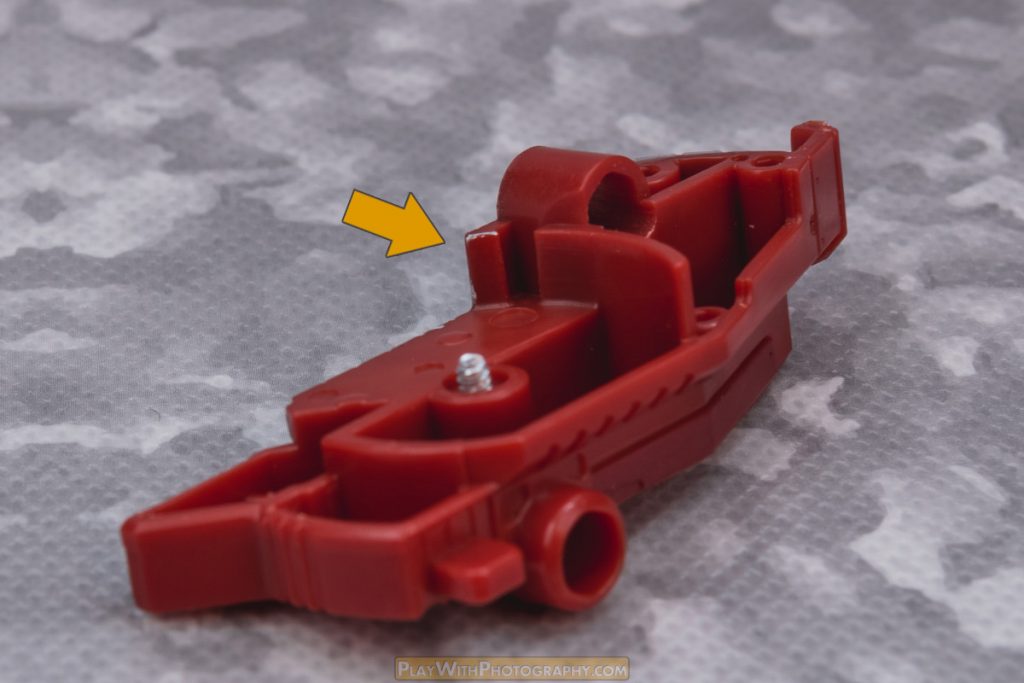
I’ve indicated it here with the arrow. That ridge looked to be getting caught on the corner of the ankle post, preventing the foot from moving. I noticed too that upon taking this larger half of the foot off, the still attached other half was able to move more easily. I began my operation by shaving and filing away at that ridge just in this half.
To do this, you’ll need at minimum a good sharp razor blade. I have a box cutter with a relatively decent blade, which is good enough. But a hobby knife would do as well – just maybe be a little more cautious in that case. I also have a metal file which proved useful for smoothing out the edges later. So I went little by little shaving material away, and going back and doing test fittings. But every time I held the halves together again, the foot would get stuck. So having a discernibly larger gap between post and sole-of-foot on one half than the other, I decided to take the other half and repeat the process.
The other half of the foot has a peg that runs the width of the ankle post. It can be removed safely, and pretty easily, you just need to take it slowly and be careful as you work that peg out of the ankle. Twisting the foot-half as you go will make the process smooth. But, I set about shaving and filing away at the corresponding ridge on that half of the foot. Ultimately, it took several passes with the tools, and a fair bit of material to be removed.
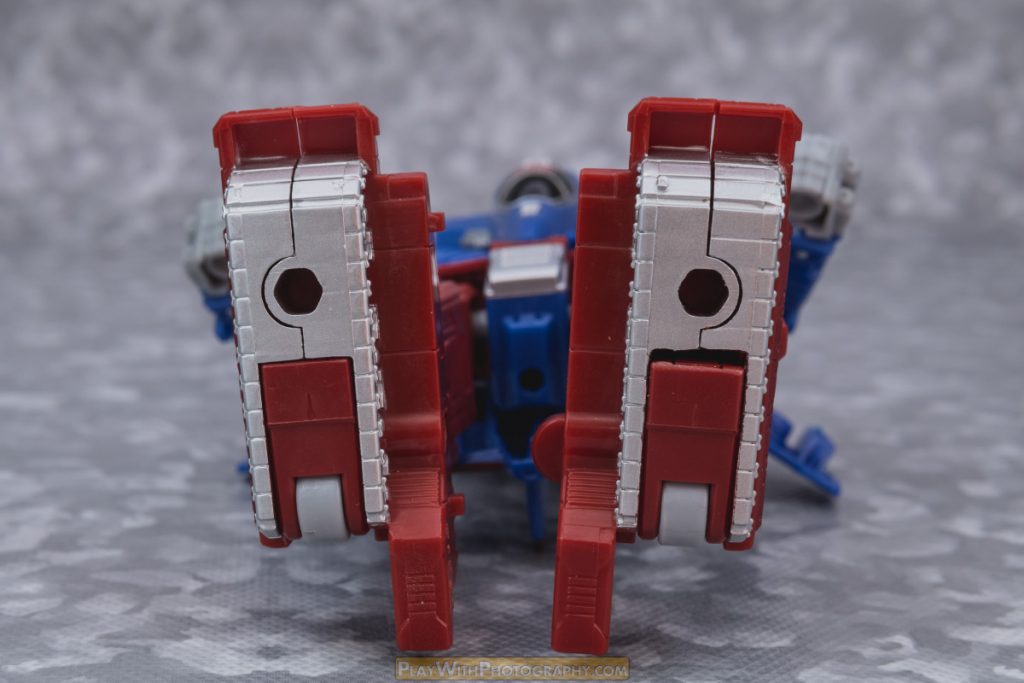
When we started, the figure’s left foot and right foot looked basically identical. The difference now shows just how much I ended up removing to relieve this problem. While not as exaggeratedly as the photo might make it out to be, it is noticeable in person. But this isn’t a big deal to me since it’s the bottom of the foot and bottom of the tank and won’t be seen much. Plus, for the hacking away I did, it still looks remarkably clean on the outside.
Putting the foot back together for a last test fit indicated that I’d been successful some way or another, as I could get the foot to move on its transformation joint now, with no feeling that it was going to shear an ankle or anything. It was then about this time I realized there must have been glue holding the toe end of the foot together; the halves now push apart a little when transforming the foot. But the screw is still holding them together, and the gap at the toe more or less resolved itself by the time you have the foot folded all the way down.
This method definitely isn’t for everyone, but hopefully the number of people that actually need this information will remain small. If you’re worried when handling your Slamdance for the first time, just gently try to move the foot down like you’re going to transform it. If it doesn’t feel like it’s going to go anywhere without a lot more force, then it may be time to consider the surgical option. Otherwise, approaching Amazon with a defect complaint (like “two of the parts are stuck together and won’t move”) might be a better way to go, as long as they have inventory to do an exchange with.
But if you want to try for a faster fix and feel comfortable doing the work, you very well might be able to save your own Slamdance.